A Step-by-Step Guide

If you’re looking to leverage ComfyUI for AI-driven workflows and run Flux for advanced functionalities on your Mac, this guide is for you! Whether you’re an AI researcher, developer, or just exploring these tools, follow these step-by-step instructions to get everything up and running smoothly.
What is ComfyUI?
ComfyUI is a powerful, modular, and node-based user interface designed for AI workflows, particularly in image generation and creative AI applications. Unlike traditional command-line tools, ComfyUI provides an intuitive visual programming environment, allowing users to connect different processing nodes to create complex AI pipelines efficiently.
ComfyUI is highly customizable and supports various AI models, including Stable Diffusion, FLUX making it an excellent choice for generative art, AI-assisted design, and automated creative tasks.
How to install ComfyUI on Mac?
Since ComfyUI released the desktop version for Mac(with Apple Silicon) on November 2024, there are ways to install ComfyUI: using the official release or from GitHub.
Prepare Your Mac
Before installing ComfyUI and Flux, ensure your Mac meets the following requirements:
- macOS Monterey (12.x) or later
- At least 8GB of RAM (16GB+ recommended for AI workloads), by the way Apple’s Unified Memory Architecture (UMA) on M1/M2/M3 chips provides significant advantages for AI image generation, allowing the CPU, GPU, and Neural Engine to access the same high-speed memory efficiently. This reduces latency and improves performance, making even 16GB configurations highly capable for AI workflows like ComfyUI.
- Python 3.10 or higher
- Git installed
- A working terminal
Option 1: Install from Official Release
- Go to https://www.comfy.org. You can see the Download button in the centre.
- Download the latest release package for macOS.

Option 2: Install From Github
If you prefer a more flexible setup, you can install ComfyUI via GitHub.
Step1: Install python and git(if you already have python and git installed, you can skip to step2)
You can download the python and git by using Homebrew:
// /bin/bash -c "$(curl -fsSL https://raw.githubusercontent.com/Homebrew/install/HEAD/install.sh)"
// brew install python git
Verify the installations:
// python3 --version
// git --version
If you can see the output like this, you are done.

Step2: Clone the repository
// git clone https://github.com/comfyanonymous/ComfyUI.git
// cd ComfyUI
After doing this, you should have the ComfyUI folder in your Mac.
Step3: Set up a virtual environment (optional but recommended)
Using a virtual environment helps isolate dependencies for ComfyUI, ensuring that the required libraries do not interfere with system-wide Python packages. This prevents version conflicts, simplifies dependency management, and allows for easier debugging and updates without affecting other projects.
// python3 -m venv test
// source test/bin/activate
After doing this you will activate the virtual environment.(You can change the name of virtual environment by yourself).
Step4: Install dependencies
// pip install --upgrade pip
// pip install -r requirements.txt
If you encounter any dependency issues, try installing torch manually:
// pip install torch torchvision torchaudioStep5: Run ComfyUI
// python main.pyOnce running, open http://127.0.0.1:8188/ in your browser to access ComfyUI’s interface.

How to run Flux in ComfyUI ?
Flux is a family of diffusion models by black forest labs, before running the model in ComfyUI. We will try to provide you with a very simple entry-level instance so that you can easily run and generate the images you want. But before that you should also do some preparation.
Step1: Download models
- Flux Schnell diffusion: Download model weights https://huggingface.co/black-forest-labs/FLUX.1-schnell/blob/main/flux1-schnell.safetensors. this file should go in your: ComfyUI/models/unet/ folder.
- Clip: Download t5xxl_fp16.safetensors and clip_l.safetensors https://huggingface.co/comfyanonymous/flux_text_encoders/tree/main put then in your ComfyUI/models/text_encoders/ directory You can use t5xxl_fp8_e4m3fn.safetensors instead for lower memory usage but the fp16 one is recommended if you have more than 32GB ram.
- VAE: The VAE can be found https://huggingface.co/black-forest-labs/FLUX.1-schnell/blob/main/ae.safetensors and should go in your ComfyUI/models/vae/ folder.
Step2: Run the workflow
ComfyUI uses a PNG metadata embedding technology to embed the workflow JSON data into the metadata of the PNG image. Therefore, the generated PNG image is not just an ordinary image, but also contains ComfyUI’s workflow data. You can drag and drop this image to ComfyUI, and ComfyUI will automatically parse the metadata and rebuild the workflow.
So You can then load or drag the following image in ComfyUI to get the workflow.
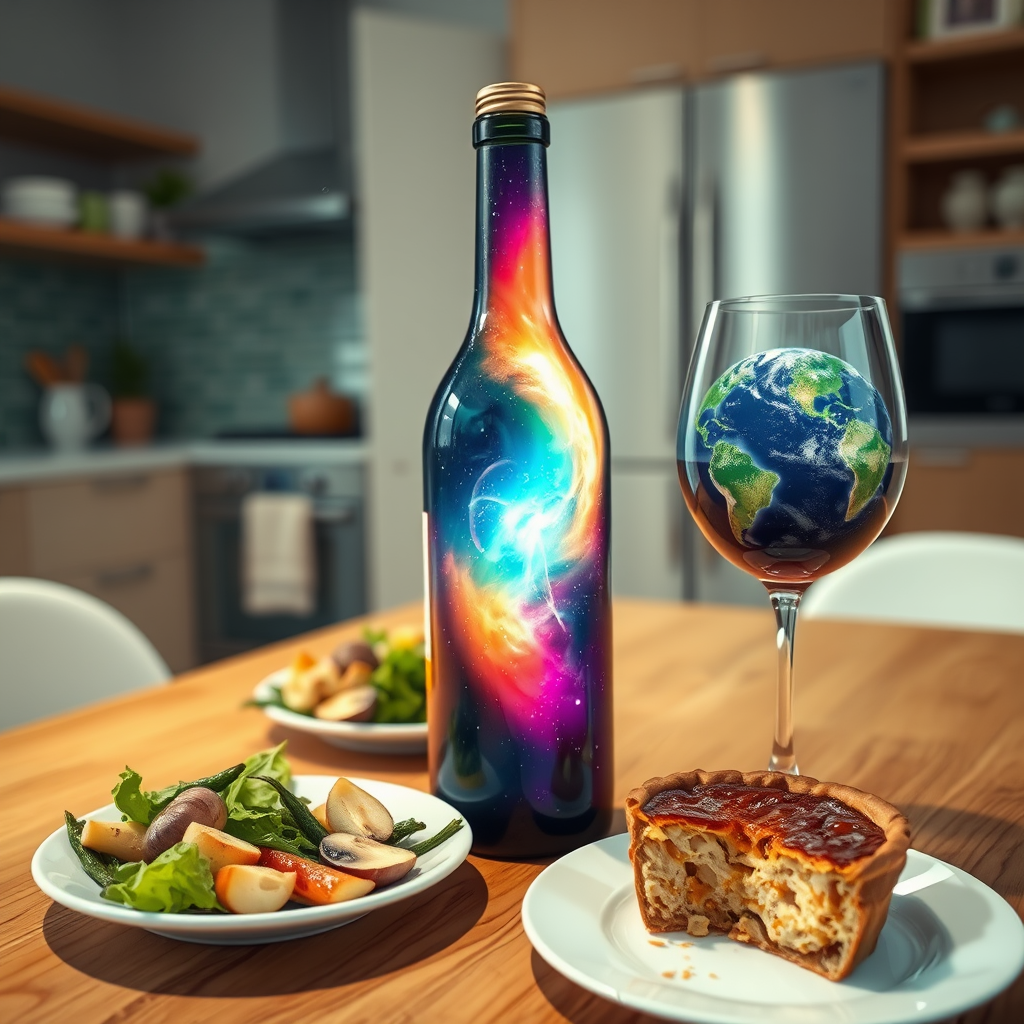

If you have put all the needed models in the folder, you can press the Queue button at the bottom of the page, and you will get the same image as the example.
Advanced Guide
After successfully running a simple demo workflow using FLUX to generate an image, here are some advanced tips to enhance your experience with ComfyUI. These insights will help you unlock its potential and take your image generation to the next level!
Choose different models
There is another version called FLUX-dev, Flux Dev focuses on testing new features and optimising algorithms. It is suitable for users who want to explore the latest features, but there may be experimental bugs. Schnell is optimised for speed and generates faster. It is suitable for batch processing or low-latency requirements, but may sacrifice some detail quality. If you want to try new features, choose Flux Dev; if you want faster reasoning speed, choose Schnell.
You can find an easy to use checkpoint for the Flux dev https://huggingface.co/Comfy-Org/flux1-dev/blob/main/flux1-dev-fp8.safetensors you can put in your: ComfyUI/models/checkpoints/ directory. And you can use the following workflow.

Handling Memory Issues in ComfyUI
While running ComfyUI, you may encounter Out of Memory (OOM) errors. Here are some optimisation strategies:

- Reduce Image Resolution: For example, change
1024x1024to512x512. - Lower Sampling Steps: High
sampling stepsconsumes more memory. Try reducing from30to20. - Clear Cache: After generating multiple images, manually clear CUDA using torch.cuda.empty_cache(), also, if you change the model, you should restart the ComfyUI.
If OOM errors persist, consider upgrading your GPU or using cloud-based GPU services.
Congratulations! You’ve successfully installed ComfyUI and integrated Flux on your Mac. Now, you can explore AI-powered workflows, create stunning images, and experiment with animations using Flux nodes.
Happy AI experimenting!
Some example prompts you can use for generating images
1. "A digital illustration of a movie poster titled "Finding Emo", finding nemo parody poster, featuring a depressed cartoon clownfish with black emo hair, eyeliner, and piercings, bored expression, swimming in a dark underwater scene, in the background, movie title in a dripping, grungy font, moody blue and purple color palette"
2. "Ethereal cyborg woman, bioluminescent jellyfish headdress. Steampunk goggles blend with translucent tentacles. Cracked porcelain skin meets iridescent scales. Mechanical implants and delicate tendrils intertwine. Human features with otherworldly glow. Dreamy aquatic hues contrast weathered metal. Reflective eyes capture unseen worlds. Soft bioluminescence meets harsh desert backdrop. Fusion of organic and synthetic, ancient and futuristic. Hyper-detailed textures, surreal atmosphere.
3. "Cute aesthetic, a (tiny cute translucent polycarbonate robot) with an LED screen face, emoticon, stunning unreal engine render, intricate details"
4. "A whimsical fairytale shot of a cute fox sitting in front of a charming, little wooden house nestled in a magical forest. The scene is illuminated by soft morning sun rays filtering through the leaves, casting dappled light on the vibrant, colorful flowers surrounding the house. The forest is lush and enchanting, with hints of moss on the ground and tree trunks, creating a serene and inviting atmosphere."
5. "A woman   Mass Effect (Chrome colors:1.45) helmet on his head style by  Stuart Lippincott, photo by Arne Svenson, Motion blur, action,"
6. "Photograph of a yakuza hairless sphinx cat with colorful japan tribal irezumi tattoos, sitting in Japanese room, warm light, taken with a medium format camera"
7. "Title: Display the title "The Mysterious Adventure of the ComfyUI" in bold and playful text at the top or center of the poster.
Main Character: Depict a dynamic and charismatic pose, wearing a tiedie tshirt with a Crown,
Background: Include a colorful and exciting backdrop with elements like a mystical forest, a cannabis farm, and an ancient temple to hint at various adventures. Ensure the background is vibrant and engaging.
Supporting Characters: Add a few quirky and fun supporting characters such as a wise old turtle, a mischievous squirrel sidekick, and a villainous fox.
Weedar Branding: Incorporate the crown logo at the bottom or top of the poster to establish it as an official crown movie.
Tagline: Include a tagline that reads: "A high risk Adventure Awaits!" prominently on the poster.
Visual Style: Ensure the overall visual style is consistent with Pixar’s signature animation look – bright colors, expressive characters, and a touch of whimsy."
8. "Macro photography of a tiny fairy sitting on a mushroom. Dew drops reflect the morning light"
9. "Underwater scene of two owls sitting at a fancy dining table with a lit candle in the center, the two owls are having a lovely dinner together. The left owl is wearing a tuxedo, the right owl is wearing a nice dress. In the background is a submarine passing by with the words “What a Hoot” painted on its side. There are little jellyfish swimming around at the bottom of the image below the table, cinematic beautiful digital artwork"
References
- Install ComfyUI: https://docs.comfy.org/get_started/introduction
- Run Flux: https://comfyanonymous.github.io/ComfyUI_examples/flux/#simple-to-use-fp8-checkpoint-version
- Workflow examples: https://comfyanonymous.github.io/ComfyUI_examples/